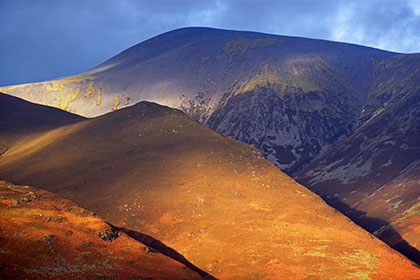
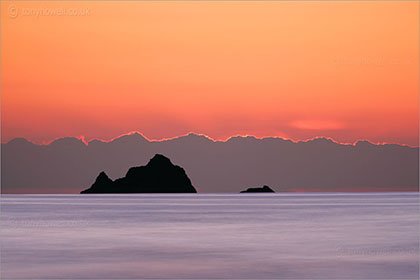
Dawn light = great images
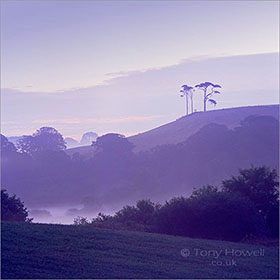
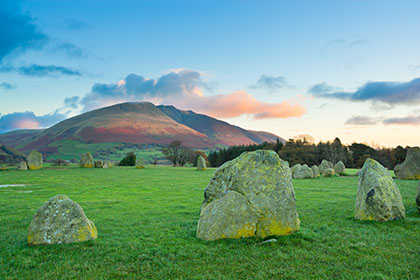
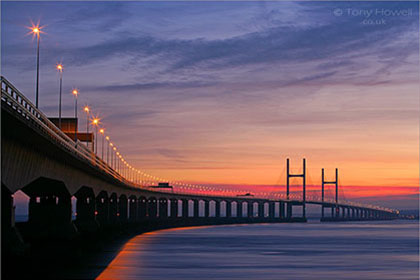
The light at dawn (and a few hours afterwards) is often the best of the day, so if you want your landscapes to have that magical look, you have to be prepared to wake up early.
I usually have my trip well planned beforehand, so that I can be in the right place at the right time. On dull days I may scout for locations, then return in more favourable conditions. There's a great app I use called Photo Ephemeris, so I can work out where the sun will rise and set at different times of the year. Some of my best images have been planned several months beforehand.
Before the sun heats up the land there is usually far less wind, so less chance of camera shake. There are fewer people around if you don't want them in your landscapes. Also, there is often mist (or frost in winter), which can add another dimension to your pictures. A few hours after dawn, contrast becomes a real problem and makes some shots harder to achieve, so set your alarm clock and get out there!
Take fewer photographs

Some digital photographers seem to take far too many pictures 'it doesn't
cost anything' they say. What it does is make you 'snap-happy'. Spend more time concentrating on one shot is my advice. Treat your composition
as a painter would, look around every part of the frame. Do you really
want that distracting branch in the corner? Move your tripod, or move
the branch if it's loose (much quicker than doing it later on computer).
Is this image expressing what you see in the best possible way? Would
a lower/higher viewpoint be better? Would it work better with a slower
shutter speed or a wider aperture? Is the foreground really interesting
enough? These are the sort of questions I ask myself while I'm framing
up my subject, and it's a lot easier when you can relax with the camera on a tripod.
Then once you've got a great composition, sure, take several at different exposures to make sure
it's in the bag, but don't snap away without thinking.
Taking snaps is
like going fishing for tiddlers - wouldn't you rather catch a big fish?
If I come home with one good image from a photoshoot I'm happy
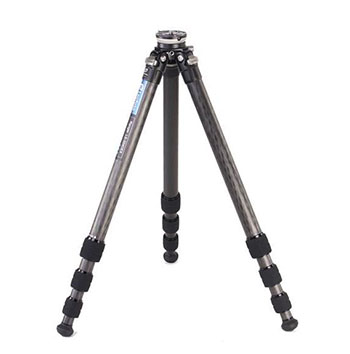
Use a tripod
Especially
for Landscapes and Macro shots, it's best to use a tripod whenever possible.
It reduces camera shake obviously, but it also slows down the picture-taking
process, which means you have more time to concentrate on the composition.
Have a good look through the viewfinder. What message are you trying to
express? What story are you telling, and how could you tell it better?
Hand-holding tends to make you skip over the important stuff. When you relax, you spend more time perfecting the composition, more time thinking and tuning in with your subject. It's pure concentration.
With landscapes, you have to get the horizon straight, which isn't easy
hand-held.
I use a tripod 99% of the time, and my pictures are much better because
of it.
Why do you think all professional landscape photographers use a tripod?
Or are you happy with your photographs being average like so many
other photographers?!
Leofoto 324CEX is what I use, with a Benro Geared Head for precise composing
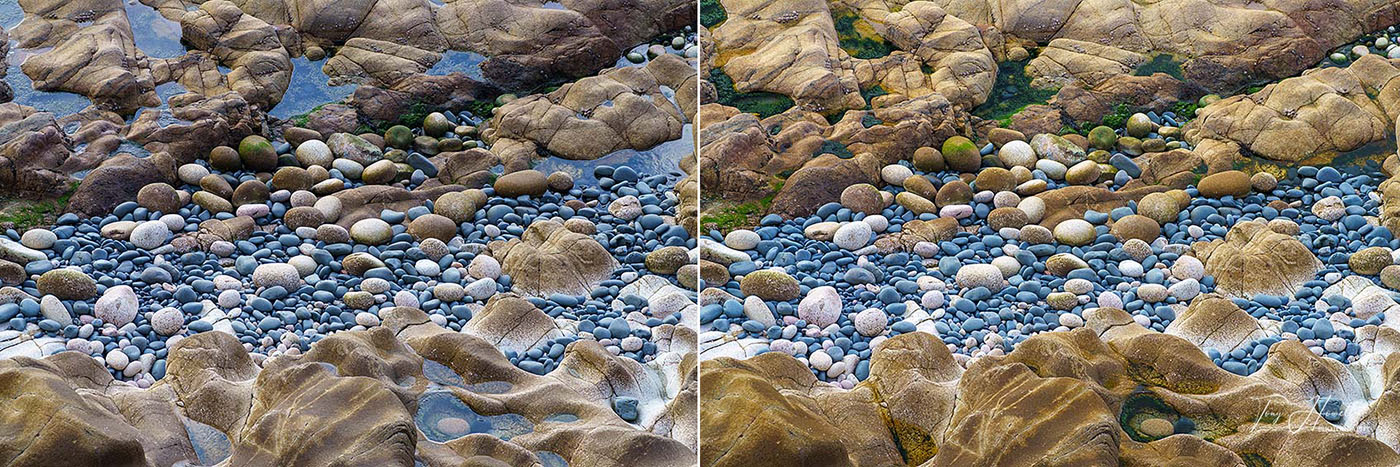
Polarising Filter

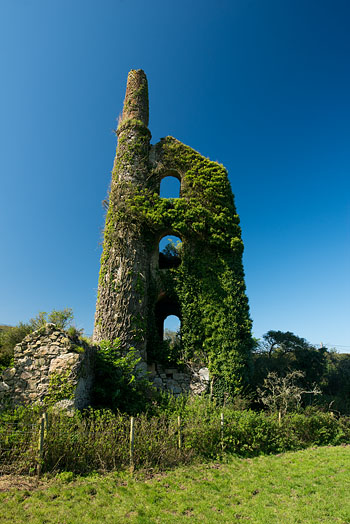
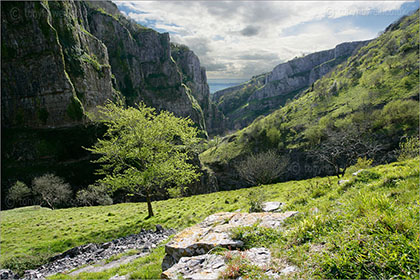
A polarising filter can deepen blue skies, adding more impact to daylight shots, and reduces reflections (which can be handy to cut through glare on water). Without a filter, the picture on the left looks flat. I tried to increase the saturation in Photoshop, but it still fails. Add a polariser and the blue is deeper, and the greens richer and vibrant. The drawback is that you lose about 2 stops of light, so watch your shutter speed or you'll get camera shake. Of course, you should be using a tripod (why aren't you?!).
Polarising filters work best when your subject is at a 90 degree angle to the sun. In these shots, the sun was pointing at my left ear.
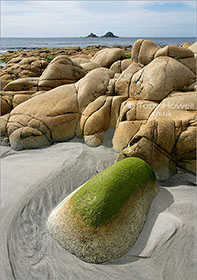
Try using a polariser to reduce glare on water - it can really lift some shots
Warning: be careful using polarisers with wide angle lenses; any wider than 28mm and only part of the sky will go deep blue, giving an unnatural look. Also, beware of shadow areas; a polariser will make them go deep black, whereas without a polariser you'll still get some shadow detail
Get better lenses
The glass you use makes a lot of difference to the quality of your images. Of course, good lenses are more expensive, but well worth it if you're serious about your images. I mainly use zoom lenses, which are not quite as good quality as 'prime' (fixed focal length) lenses, but they give you more control over the composition, something I consider more important than ultimate image quality
Depth-of-field/Aperture
Depth-of-field is simply the zone of sharp focus in a scene, and this can be controlled by the aperture settings. A small aperture number like f4 or f5.6 means small depth-of-field - great for ............

Understand ISO
To get the lowest noise, most digital cameras work best at ISO100, so use this setting and a tripod for best results. You don't want to take a great image, only to find the noise unacceptable - especially if you want to try and ........................
Balancing Skies and Foregrounds - Digital Blending
To get the lowest noise, most digital cameras work best at ISO100 (or ISO200 if it's the lowest available on your camera), so use this setting and a tripod for best results. You don't want to take a great image, only to find..............................
RAW Images
I often come across digital photographers who shoot all their images in Jpeg. This makes it easy to process the images, sure, but also means that you're unable to adjust the images as well later on without losing quality....................................
Composition
We all dislike rules, but the rule of thirds is one worth learning. Lots of images look better when following this rule. Imagine the image you're composing split into three segments horizontally, and three vertically...............................
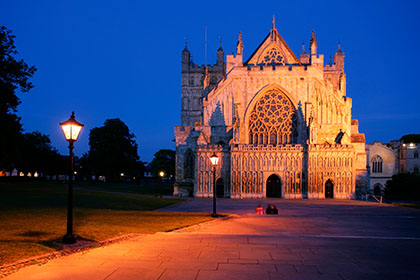
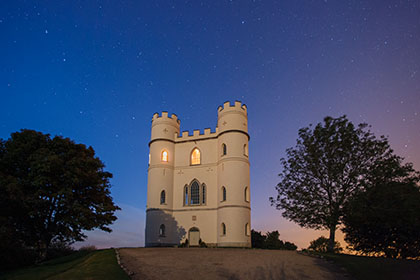
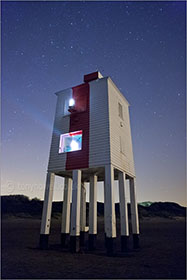
Night Photography
If you've never been alone on a still, dark night with no-one around, just the moon & stars above you and your camera...you're missing out on one of life's great experiences...............................
How to Recover an Underexposed RAW Photo in Lightroom
If you've never been alone on a still, dark night with no-one around, just the moon & stars above you and your camera...you're missing out on one of life's great experiences...............................

How I took the following images: -

‘My compliments on a truly excellent website......it's fantastic to see a professional spending time on his website to provide hints and tips to people like me. Your pictures also provide me with great inspiration to do better.’ M.P, Plymouth, UK